Step-by-Step Tutorial: Creating Your First Custom LinkedIn Frame
A Complete Beginner's Guide to Creating Professional Profile Picture Frames
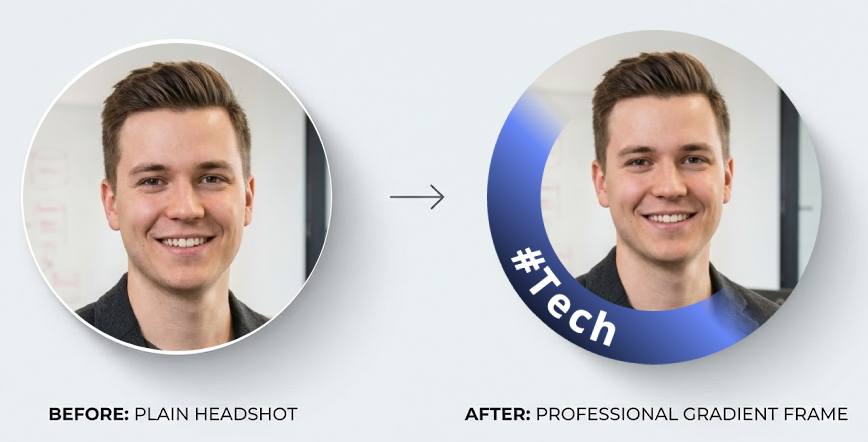
Want to make your LinkedIn profile stand out but not sure where to start? This comprehensive tutorial will walk you through creating your first custom profile picture frame using Frame Generator, from uploading your photo to downloading the finished result. No design experience required - if you can click a mouse, you can create a professional-looking frame in under five minutes.
By the end of this guide, you'll have a polished, eye-catching profile picture that communicates your professional identity and helps you stand out in LinkedIn feeds, search results, and connection requests.
What You'll Need: A profile picture (preferably high-quality, at least 400x400 pixels), a web browser, and about 5-10 minutes. That's it - no software downloads, no account creation, no payment required.
From the Creator: I built Frame Generator to be as simple as possible - no design skills needed. This tutorial walks you through every feature, but honestly, most users figure it out in seconds. The tool is designed to just work.
Before You Begin: Choosing the Right Photo
The foundation of a great framed profile picture is a great base photo. Before you start creating your frame, make sure your photo meets these criteria:
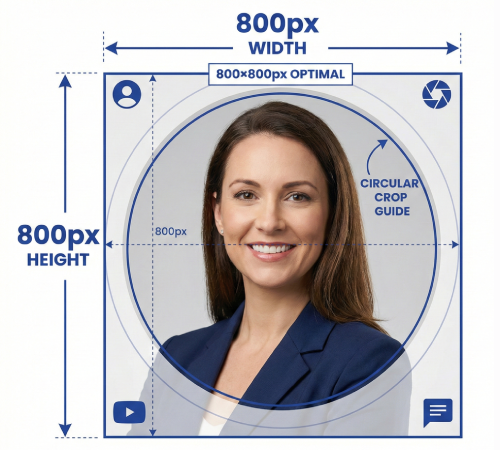
- Minimum 400x400 pixels (800x800 recommended for best quality)
- Square aspect ratio works best, but you can crop during upload
- JPG, PNG, or WebP format
- File size under 10MB
- Your face is clearly visible and well-lit
- The background isn't too busy or distracting
- The image is in focus (not blurry)
- You're dressed appropriately for your industry
- Your expression is friendly and professional
Option 1: Using a Preset Template (Easiest)
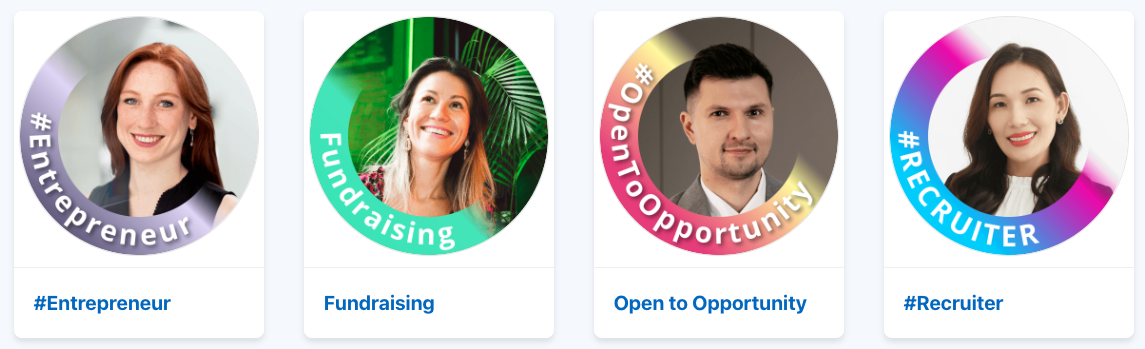
If you want quick results with minimal effort, our preset templates are the fastest way to create a professional frame. We have over 35 pre-designed options for various professions, causes, and styles.
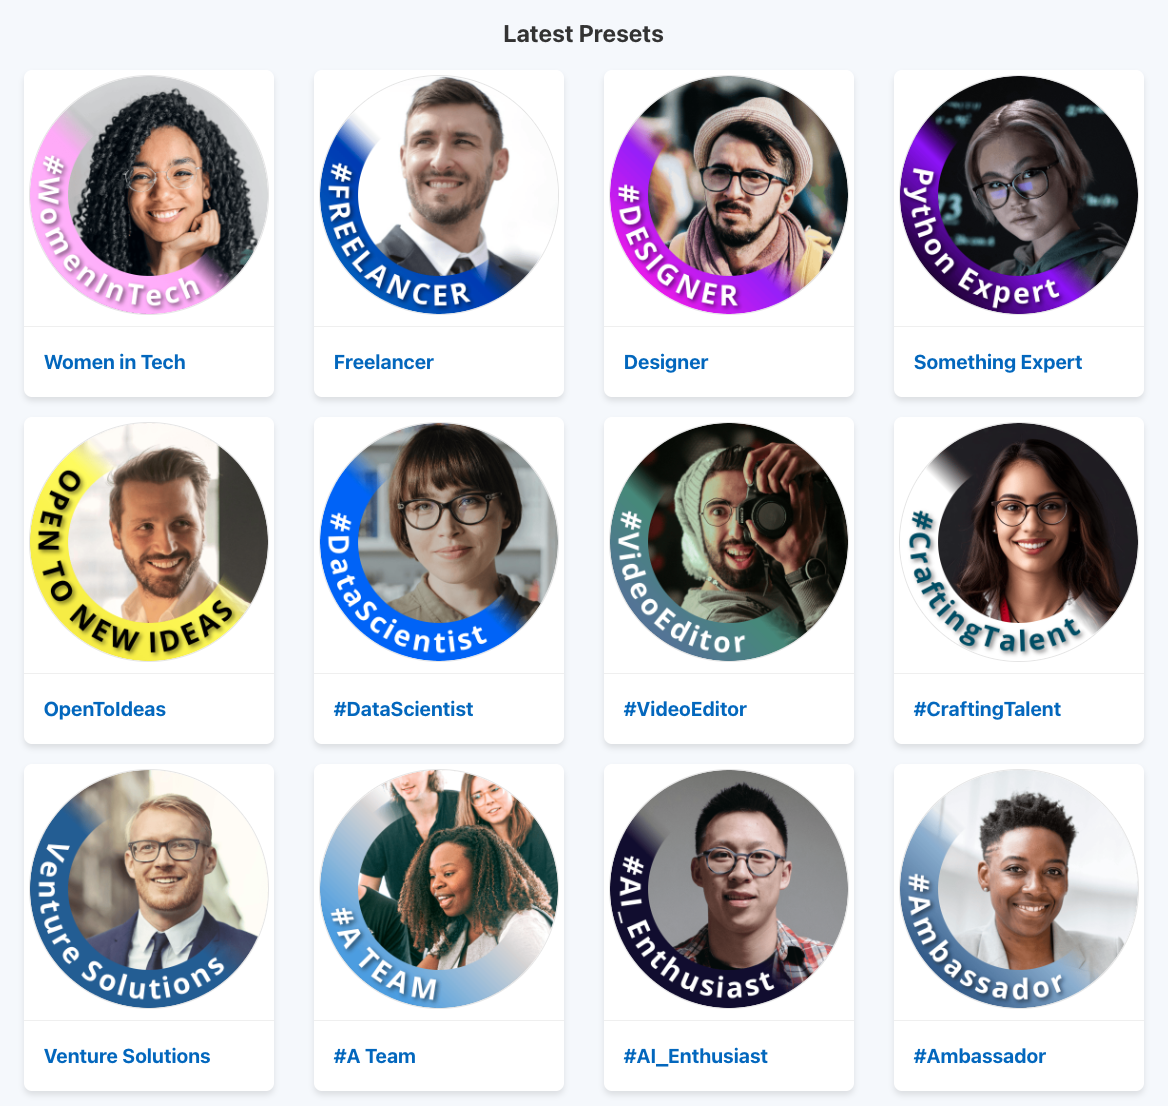
Step 1: Browse the Presets
Go to frame-generator.com/presets to see all available templates. You'll find options like:
- Professional titles: "Freelancer," "Designer," "#DataScientist"
- Job search: "Open to Work," "Seeking Opportunities"
- Community: "Women in Tech," "#AI_Enthusiast"
- Certifications and achievements
- Events and conferences
Step 2: Select Your Template
Click on any preset that interests you. This will open the frame generator with all the settings pre-configured - colors, text, positioning, everything is already set up for you.
Step 3: Upload Your Photo
Once the generator opens with your chosen preset, click the "Upload Image" button or drag and drop your photo into the upload area. Your image will appear with the frame applied automatically.
Privacy Note: Your image is processed entirely in your browser. It never leaves your device or gets uploaded to our servers.
Step 4: Adjust Position (If Needed)
Use the position controls to adjust how your photo sits within the frame:
- Zoom: Make your face larger or smaller within the frame
- Position X/Y: Move your photo left/right or up/down
- Rotation: Straighten your photo if it's tilted
The goal is to have your face centered and clearly visible, with the frame text not covering any important features.
Step 5: Download Your Framed Photo
When you're happy with how it looks, click the "Download" button. Your framed profile picture will be saved to your device as a high-quality PNG file, ready to upload to LinkedIn.
Option 2: Creating a Custom Frame from Scratch
Want complete control over your frame's design? The custom generator lets you choose every detail - colors, text, effects, and more. Here's how to create a completely personalized frame.
Step 1: Open the Generator
Go to frame-generator.com/generate to access the custom frame builder.
Step 2: Upload Your Photo
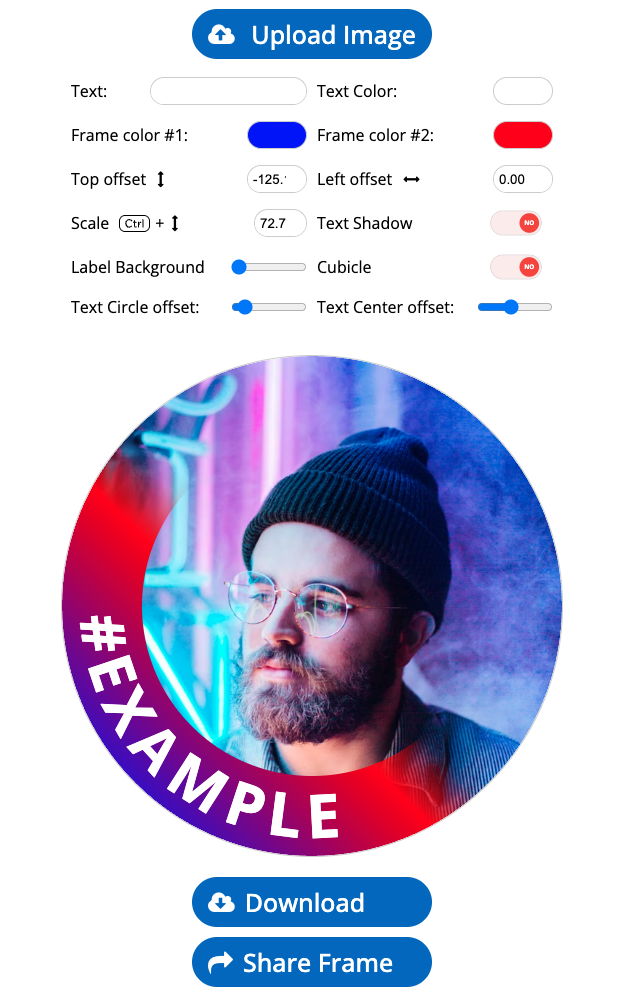
Click "Upload Image" or drag your photo into the upload area. You'll see a preview of your photo in the editor.
Step 3: Add Your Frame Text
In the text field, enter what you want your frame to say. This could be:
- Your job title: "Software Engineer"
- A hashtag: "#OpenToWork"
- A certification: "AWS Certified"
- A personal brand statement: "Building the Future"
- An event: "Speaking at TechConf 2026"
Keep it concise - shorter text is easier to read at small sizes. Aim for 2-4 words maximum for best readability.
Step 4: Choose Your Colors
Select colors that complement your photo and reflect your personal brand:
- Frame Color 1 (Start): The first color of your gradient frame
- Frame Color 2 (End): The second color - creates a gradient effect
- Text Color: Make sure it contrasts well with your frame colors
- Text Background: Optional background behind the text for better readability
Color Tips: For a professional look, stick to 2-3 colors maximum. Blue conveys trust, green suggests growth, and purple implies creativity. When in doubt, use your company's brand colors for consistency.
Step 5: Adjust Frame Settings
Fine-tune these settings to perfect your frame:
- Frame Width: How thick the colored border appears
- Text Position: Where the text sits on the frame (usually bottom)
- Font Size: Adjust so text is readable but doesn't overwhelm
- Text Shadow: Adds depth and improves readability on busy backgrounds
Step 6: Position Your Photo
Use the image controls to position your photo perfectly within the frame. Make sure:
- Your face is centered and takes up 60-70% of the frame
- The frame text doesn't cover your face or important features
- There's a good balance between your photo and the frame elements
Step 7: Preview and Download
Review your creation at different sizes - remember, most people will see it as a small thumbnail on LinkedIn. When satisfied, click "Download" to save your framed photo.
Uploading to LinkedIn
Now that you have your framed profile picture, here's how to add it to LinkedIn:
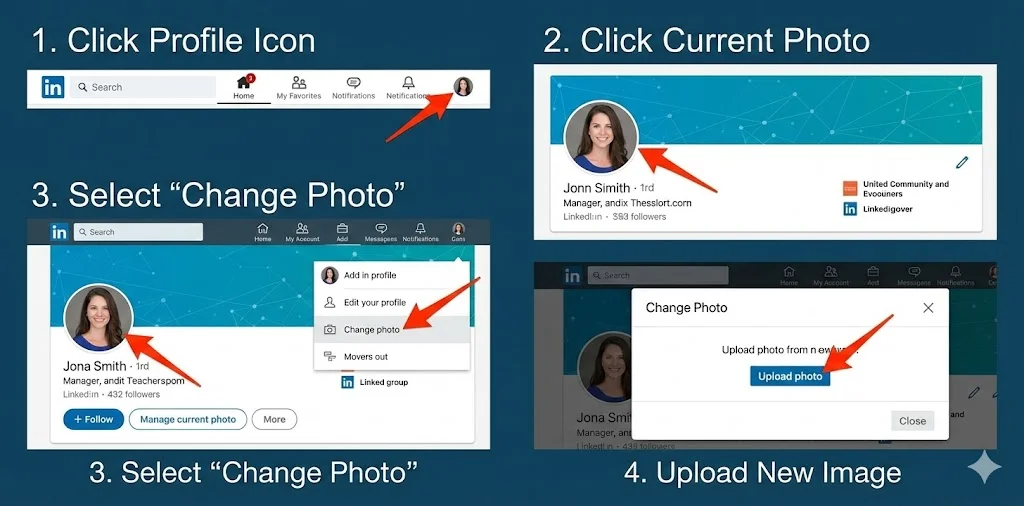
- Go to your LinkedIn profile - Click your profile picture in the top navigation
- Click on your current profile picture - This opens the photo editor
- Click "Change photo" - Then select "Upload photo"
- Select your framed image - Navigate to where you saved it
- Adjust if needed - LinkedIn lets you reposition and zoom
- Click "Save" - Your new framed photo is now live!
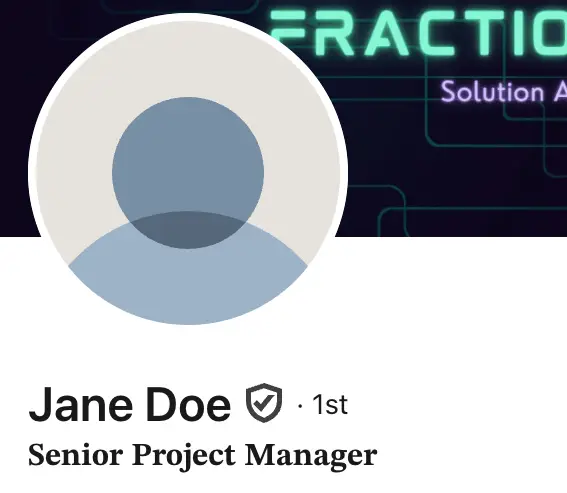
Pro Tip: LinkedIn will crop your photo into a circle for display. Since Frame Generator already creates circular frames, your frame should align perfectly. If you notice any issues, you can use LinkedIn's built-in cropping tool to adjust.
Troubleshooting Common Issues
Solution: Increase the text shadow, add a text background color, or choose higher-contrast colors. Make sure font size is large enough to be readable at thumbnail size.
Solution: Reduce the frame width, zoom in on your photo, or reposition the image so your face is more centered.
Solution: This can happen with different color profiles. Try opening the downloaded image in a photo viewer to see actual colors before uploading to LinkedIn.
Solution: Start with a higher-resolution source photo (at least 800x800 pixels). The output quality depends on your input quality.
Solution: Try refreshing the page. If using a preset link, make sure the URL parameters loaded correctly.
Design Tips for Maximum Impact
Now that you know the mechanics, here are some design principles to make your frame truly effective:
Less is more. A clean, simple frame with minimal text often looks more professional than a busy, complex design. Your face should remain the focal point.
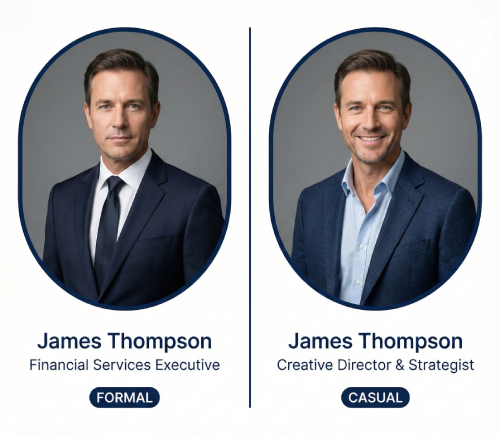
Conservative industries (finance, law) call for subtle, professional frames. Creative industries allow for bolder colors and designs. When in doubt, err on the side of professional.
Most people will see your photo as a tiny thumbnail in feeds and search results. Test how your frame looks at small sizes - if you can't read the text, it needs to be larger or simpler.
Your frame should reflect your current situation. Job searching? Use an "Open to Work" frame. Just got certified? Highlight it. Speaking at an event? Promote it. Regular updates keep your profile fresh.
If you have personal brand colors, use them in your frame. This creates visual consistency across your LinkedIn profile, website, and other professional platforms.
What to Do Next
Congratulations! You've created your first custom LinkedIn frame. Here are some next steps to consider:
- Test the impact: Monitor your profile views and connection requests over the next few weeks to see if your new frame makes a difference
- Create variations: Make a few different frames for different purposes (job searching, networking events, regular use)
- Share on other platforms: Your framed photo can work on Twitter, Slack, GitHub, and other professional platforms
- Update your banner: Consider matching your LinkedIn banner to complement your new profile picture
Frequently Asked Questions
Yes, completely free. No hidden fees, no premium tiers, no watermarks. We believe everyone deserves access to professional branding tools.
No. All processing happens in your browser using JavaScript. Your images never leave your device. We have zero access to your photos.
Yes, you can use your framed photos for any professional purpose, including business profiles, marketing materials, and company pages.
Use the custom generator to create exactly what you want. If you need something more complex, we also offer custom frame creation services for events and organizations.
Ready to Create Your Frame?
You now have everything you need to create a professional, eye-catching LinkedIn profile picture frame. Whether you choose a preset or build from scratch, the process takes just minutes and can make a lasting impression on everyone who views your profile.
Latest Articles

Frame Your Face with a Custom Banner 🖼️

Spice Up Your LinkedIn Profile with Emojis 💥
Stand Out with 𝑪𝒖𝒔𝒕𝒐𝒎 𝑭𝒐𝒏𝒕𝒔 on LinkedIn 🖋️

LinkedIn Profile Photo Best Practices for 2026

Personal Branding on LinkedIn: A Complete Guide

How to Choose the Right Colors for Your Profile Frame
Profile Picture Dimensions Guide for All Social Platforms
Professional vs. Casual Profile Pictures: Which is Right for You?
The Psychology of Profile Pictures in Professional Networking
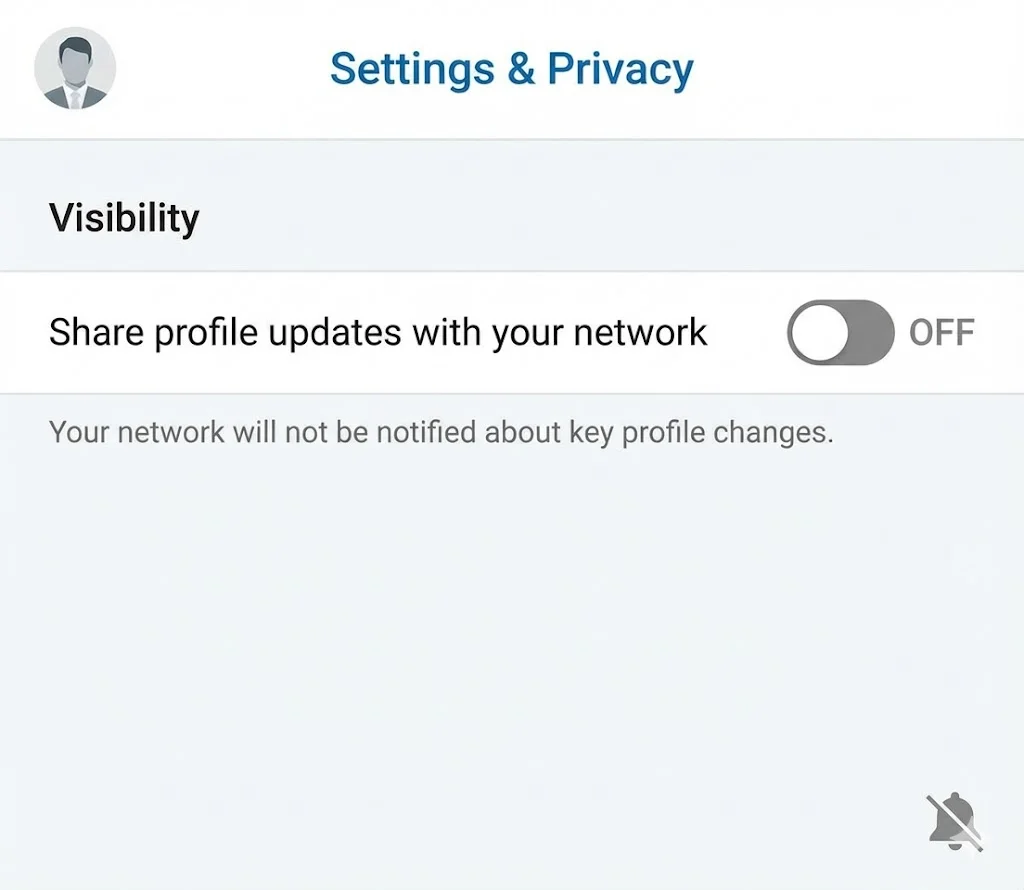
How to Update Your LinkedIn Profile Picture Without Notifying Everyone
15 Common LinkedIn Profile Mistakes (And How to Fix Them)