Profile Picture Dimensions Guide for All Social Platforms
The Complete Reference for Perfect Profile Pictures Across Social Media
Every social media platform has different technical requirements for profile pictures. Upload an image that's too small, and it appears pixelated and unprofessional. Too large, and it may fail to upload or get compressed poorly. The wrong aspect ratio means awkward cropping that cuts off your face or creates unwanted white space.
This comprehensive guide provides the exact dimensions, file size limits, and formatting requirements for every major social platform. Bookmark this page and refer to it whenever you're updating your professional profiles to ensure perfect image quality every time.
Pro Tip: Create your profile pictures at the highest recommended resolution, then scale down as needed. It's always better to start with more pixels than you need.
From the Creator: Building Frame Generator required deep research into platform specifications to ensure frames display perfectly everywhere. This guide compiles everything I learned about optimizing profile pictures for maximum quality across all major platforms.
LinkedIn Profile Picture Specifications
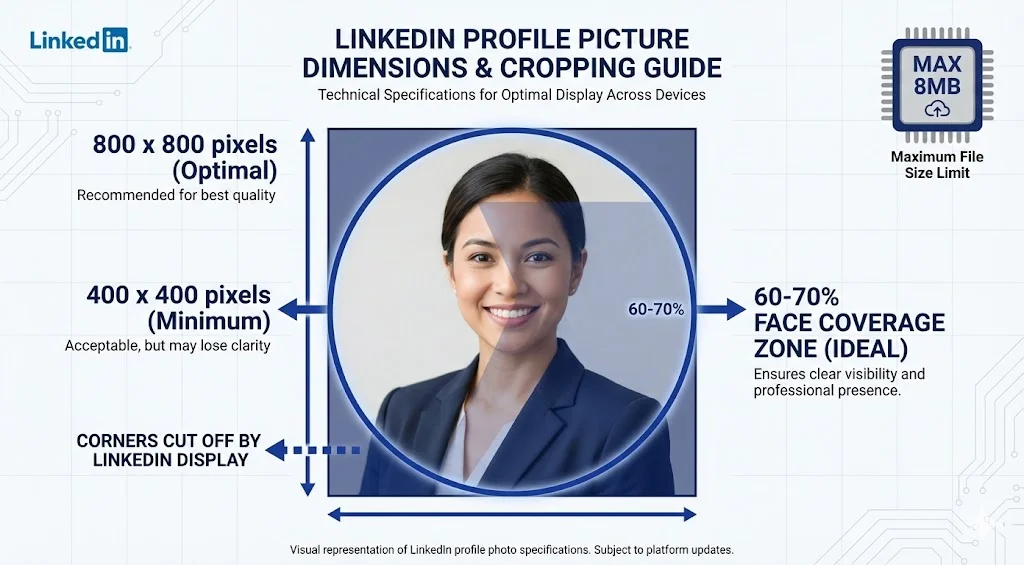
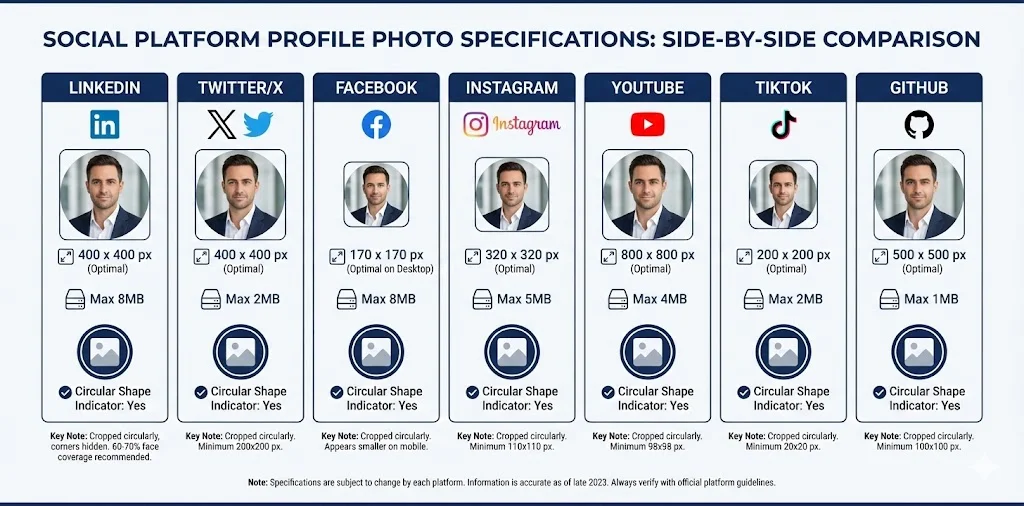
400 x 400 pixels (minimum) to 800 x 800 pixels (optimal)
1:1 (square)
Displays as circular: 300 x 300 px on desktop, 200 x 200 px on mobile
8 MB maximum
JPG, PNG, GIF (no animated GIFs)
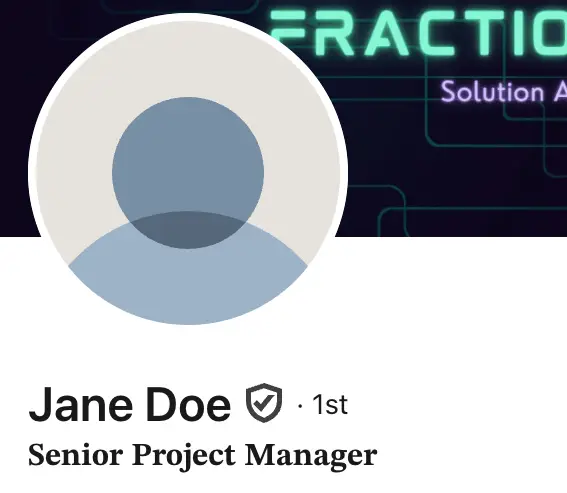
- LinkedIn crops your photo into a circle, so ensure your face is centered
- Keep important elements away from the edges which will be cropped
- LinkedIn compresses images, so start with high quality
- Your photo appears in multiple sizes across the platform (profile, comments, search), so test visibility at small sizes
Twitter (X) Profile Picture Specifications
400 x 400 pixels (minimum) to 2000 x 2000 pixels (maximum)
1:1 (square)
Displays as circular: 200 x 200 px on desktop, 73 x 73 px in tweets
2 MB maximum
JPG, PNG, GIF (no animated GIFs for profile pictures)
- Twitter heavily compresses images, so upload high-quality originals
- Circular crop means corners are cut off
- Profile picture appears very small in tweets, so keep design simple and face prominent
- Use PNG for photos with transparency or text overlays
Facebook Profile Picture Specifications
180 x 180 pixels (minimum) to 2048 x 2048 pixels (maximum)
1:1 (square)
170 x 170 px on desktop, 128 x 128 px on mobile, 32 x 32 px in comments
No specific limit (under 100 MB generally works)
JPG, PNG, GIF
- Displays as circular on profiles, square in some other contexts
- Profile picture is public even if your profile is private
- Can be protected from downloads via privacy settings
- Appears in various sizes across Facebook, so test at multiple sizes
Instagram Profile Picture Specifications
320 x 320 pixels (minimum) to 1080 x 1080 pixels (optimal)
1:1 (square)
110 x 110 px in feed, 180 x 180 px on profile
No official limit (under 30 MB recommended)
JPG, PNG
- Always displays as circular
- Very small display size means simple, clear images work best
- Instagram applies compression, so start with quality images
- Business accounts should use logo or recognizable brand image
YouTube Channel Profile Picture Specifications
800 x 800 pixels (minimum) to 2048 x 2048 pixels (maximum)
1:1 (square)
Displays as circular: 800 x 800 px on desktop, 98 x 98 px on mobile
4 MB maximum
JPG, GIF, PNG
- Appears as circular across YouTube
- Must be at least 98 x 98 px
- Appears next to all your comments and videos
- Branding is crucial-use consistent imagery across Google properties
TikTok Profile Picture Specifications
200 x 200 pixels (minimum) to 1080 x 1080 pixels (optimal)
1:1 (square)
Displays as circular: varies by device
No official limit (under 20 MB recommended)
JPG, PNG
- Circular crop on all displays
- Bold, recognizable images work best due to small display sizes
- Consider how it looks with TikTok's interface design
GitHub Profile Picture Specifications
400 x 400 pixels (minimum) to 1024 x 1024 pixels (optimal)
1:1 (square)
Displays as circular: varies by context
1 MB maximum
PNG, JPG, GIF
- Can use Gravatar for consistent image across platforms
- Appears next to all commits, pull requests, and comments
- Professional developers often use logos, avatars, or professional headshots
Quick Reference Table
Universal Best Practices for All Platforms
- Start with 1000 x 1000 pixels or larger: This gives you flexibility across all platforms and ensures quality even after compression.
- Use square images (1:1 aspect ratio): All major platforms prefer or require square profile pictures, so starting square avoids awkward cropping.
- Center your face: Since most platforms display circular crops, keep your face centered and away from edges.
- Save in high quality: Use maximum quality settings when exporting JPGs to minimize compression artifacts.
- Use PNG for graphics with text: PNG preserves text clarity better than JPG, especially after platform compression.
- Test at multiple sizes: View your profile picture at thumbnail size to ensure it remains recognizable when small.
- Account for circular crops: Assume a circular crop and keep important elements within a circle inscribed in your square image.
- Maintain consistency: Use the same or very similar images across platforms for brand recognition.
File Format Recommendations
Best for photographs and images with many colors. Smaller file sizes but lossy compression. Use quality setting of 90% or higher for profile pictures.
Best for images with text, logos, or graphics requiring transparency. Lossless compression means larger files but perfect quality. Ideal for framed profile pictures with text overlays.
Generally not recommended for profile pictures. Limited to 256 colors and produces larger files than JPG for photos. Only use if platform specifically allows animated GIFs and you want animation.
Creating One Master Image for All Platforms
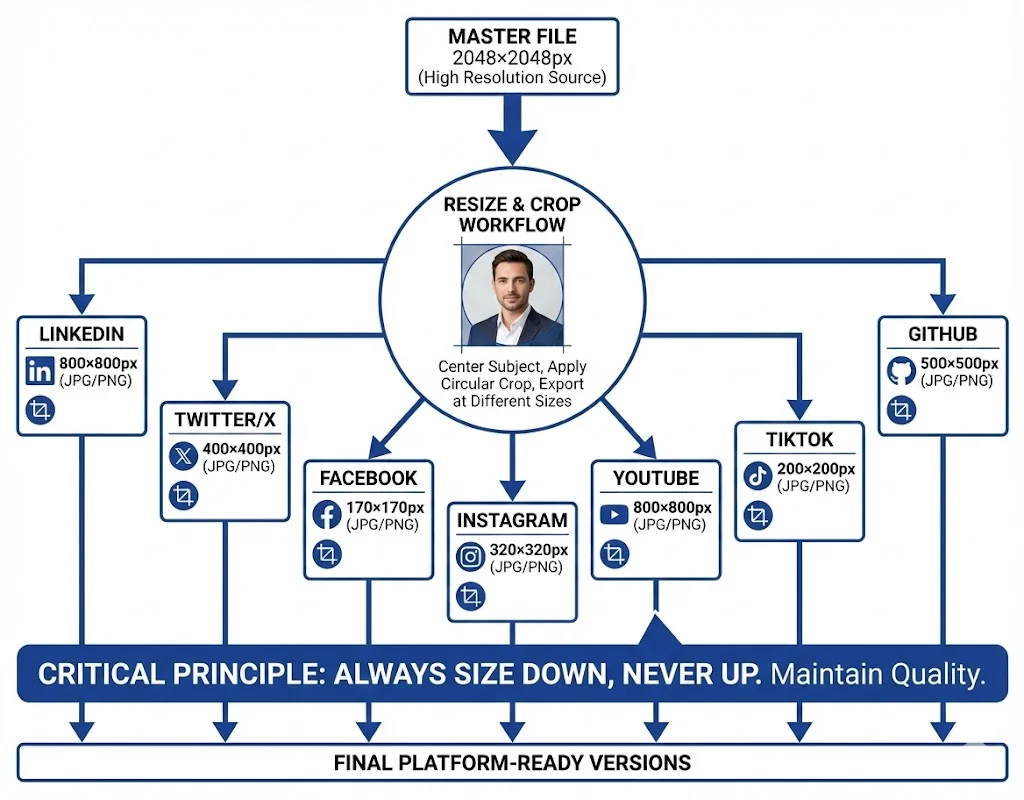
To maintain consistency while meeting all platform requirements:
- Create a master file at 2048 x 2048 pixels (this covers the highest requirement)
- Center your face within the image with your head occupying about 60-70% of the frame
- Visualize a circular crop and ensure all important elements fall within that circle
- Save the master file as both PNG (highest quality) and JPG (smaller for platforms with file size limits)
- Resize as needed for each platform, always sizing down from your master rather than up
Frame-Generator.com Tip: When creating custom frames, start with an image that's at least 800 x 800 pixels. Our tool will help you visualize the circular crop and ensure your framed photo looks great across all social platforms.
Common Mistakes to Avoid
- Uploading images that are too small, resulting in pixelation
- Forgetting about circular crops and losing important elements at corners
- Using different photos across platforms, reducing brand recognition
- Neglecting to compress large files, leading to upload failures
- Not testing how the image looks at small sizes
- Using outdated photos that no longer resemble you
- Ignoring platform-specific display contexts (like YouTube thumbnails or LinkedIn search results)
Tools for Resizing and Optimizing
Several free tools can help you resize and optimize images:
- TinyPNG/TinyJPG: Compress images without noticeable quality loss
- Canva: Easy resizing with templates for various social platforms
- Adobe Express: Free resizing and basic editing
- Frame-Generator.com: Create, resize, and customize profile pictures with frames optimized for any platform
Final Thoughts
Getting your profile picture dimensions right across all platforms might seem tedious, but it's a one-time investment that pays dividends in professional presentation. Start with a high-quality master image, understand the circular crop reality of modern social platforms, and resize appropriately for each platform's specific requirements. The result is consistent, professional branding that makes you instantly recognizable across the digital professional landscape.
Create Your Optimized Profile Picture: Our free frame generator automatically outputs images at optimal dimensions for LinkedIn and other platforms. Upload your photo and download a perfectly-sized, professionally framed profile picture.
Latest Articles
Frame Your Face with a Custom Banner 🖼️

Spice Up Your LinkedIn Profile with Emojis 💥
Stand Out with 𝑪𝒖𝒔𝒕𝒐𝒎 𝑭𝒐𝒏𝒕𝒔 on LinkedIn 🖋️
LinkedIn Profile Photo Best Practices for 2026

Personal Branding on LinkedIn: A Complete Guide
How to Choose the Right Colors for Your Profile Frame
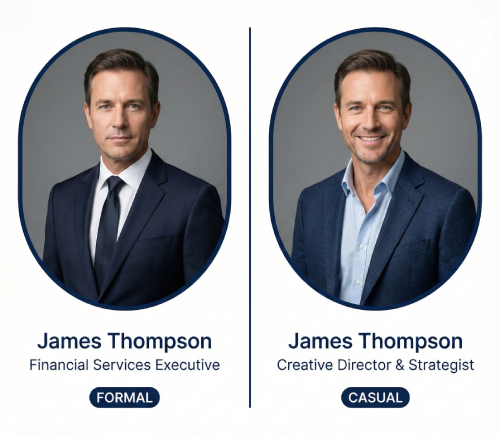
Professional vs. Casual Profile Pictures: Which is Right for You?
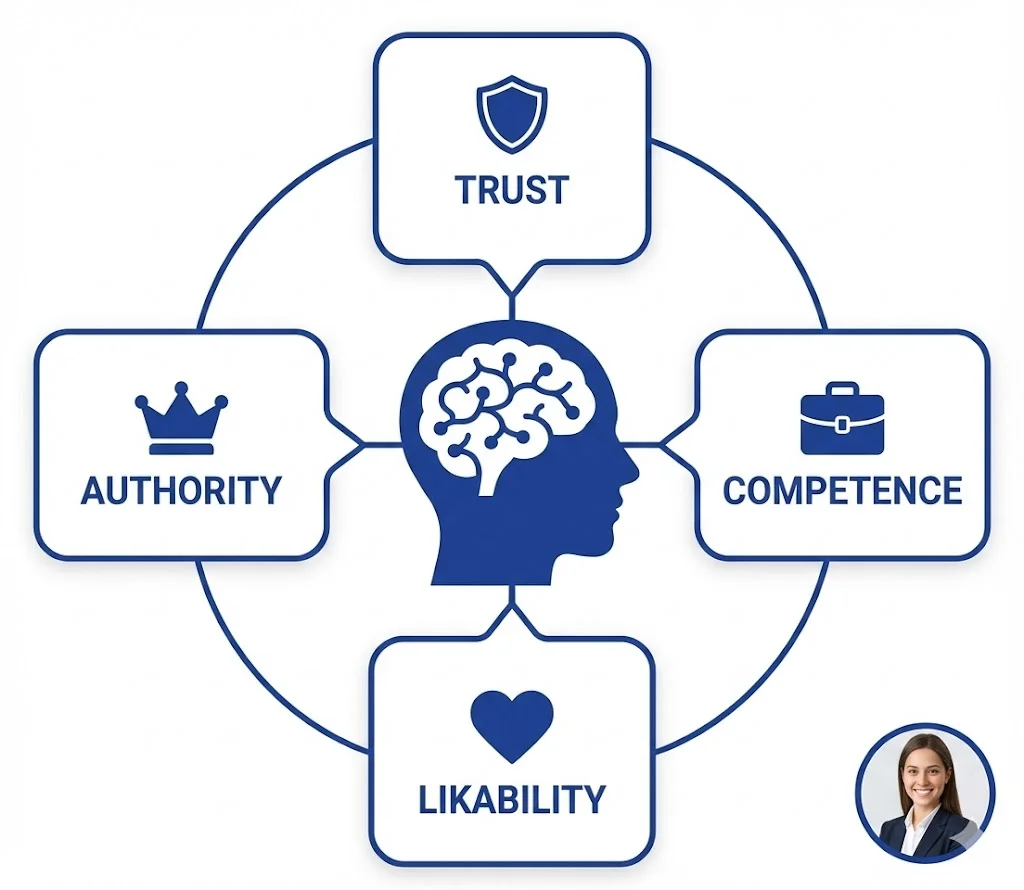
The Psychology of Profile Pictures in Professional Networking
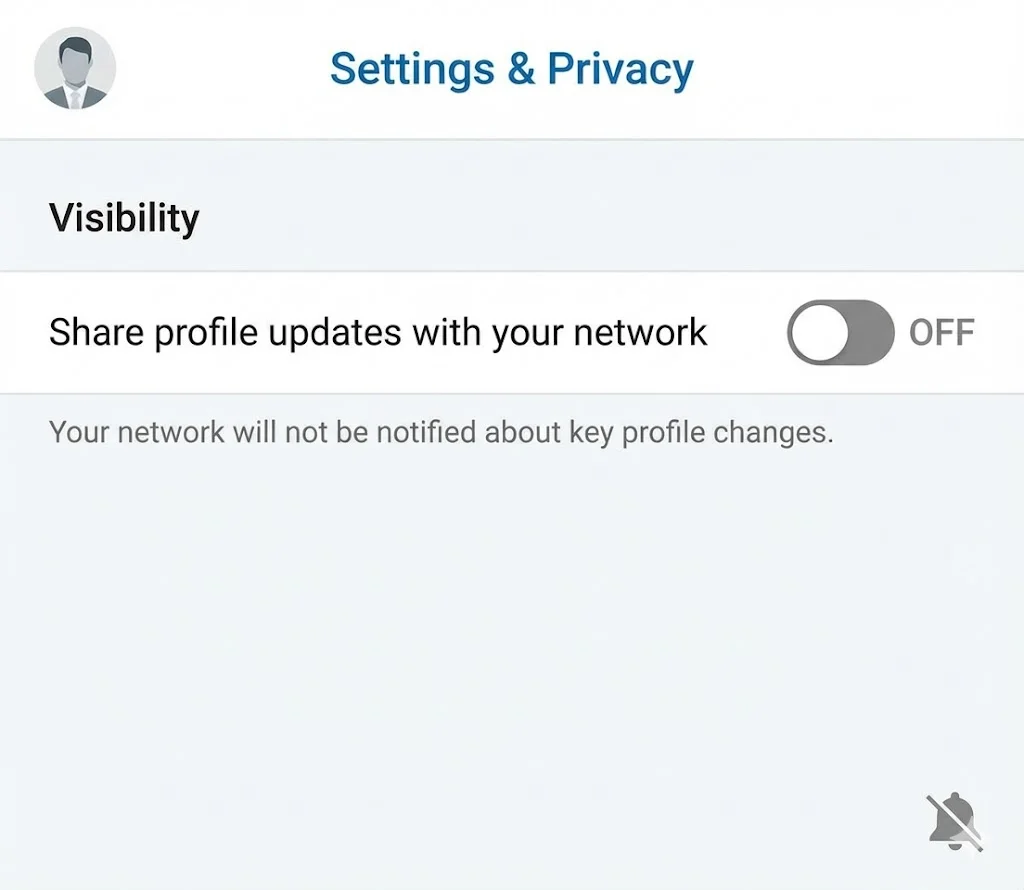
How to Update Your LinkedIn Profile Picture Without Notifying Everyone
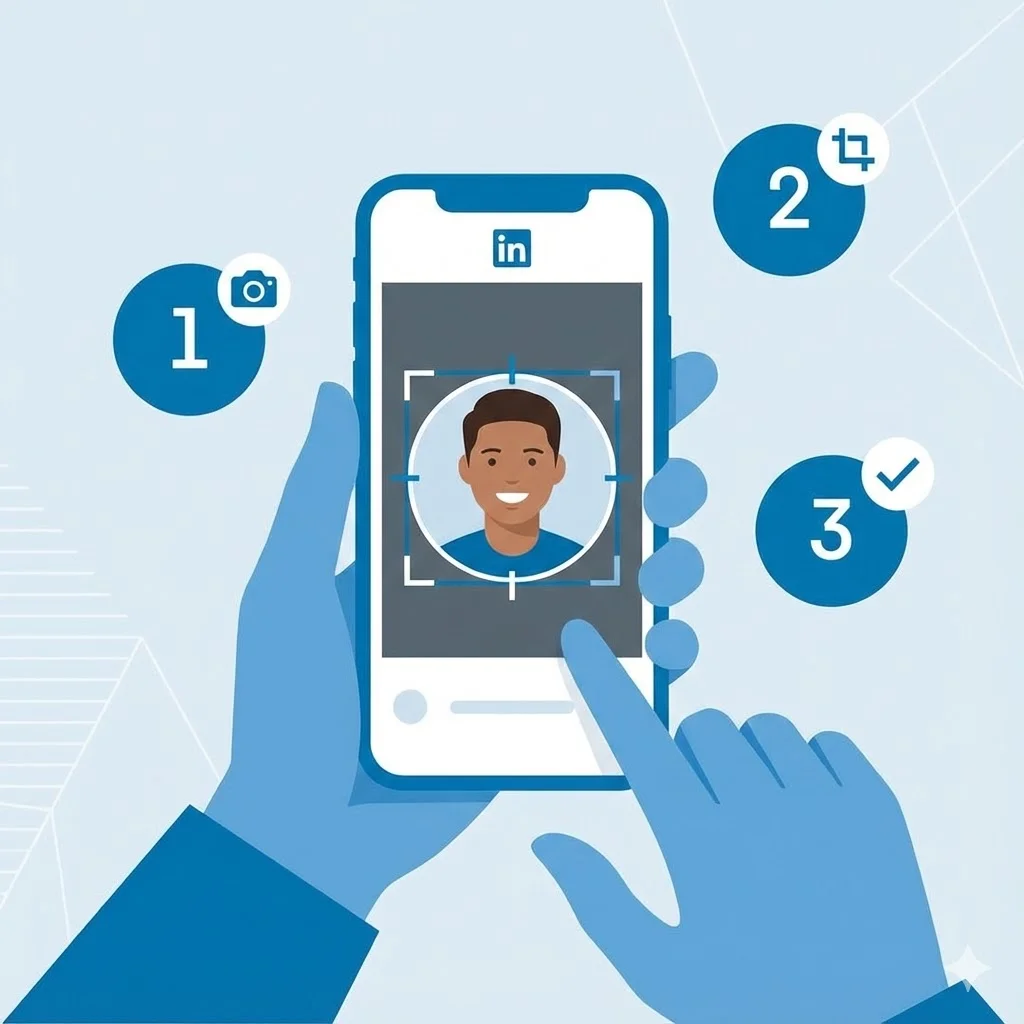
Step-by-Step Tutorial: Creating Your First Custom LinkedIn Frame
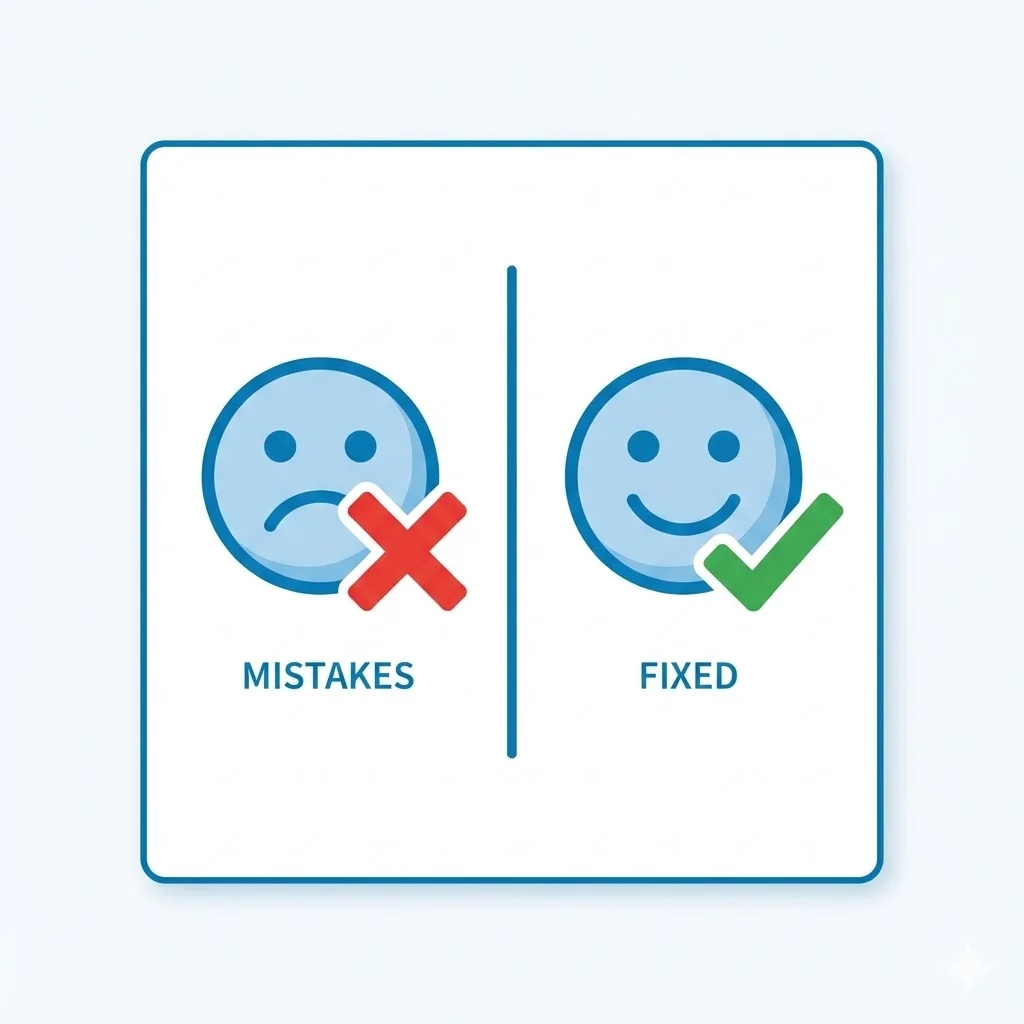
15 Common LinkedIn Profile Mistakes (And How to Fix Them)